Text To Image
Introduce
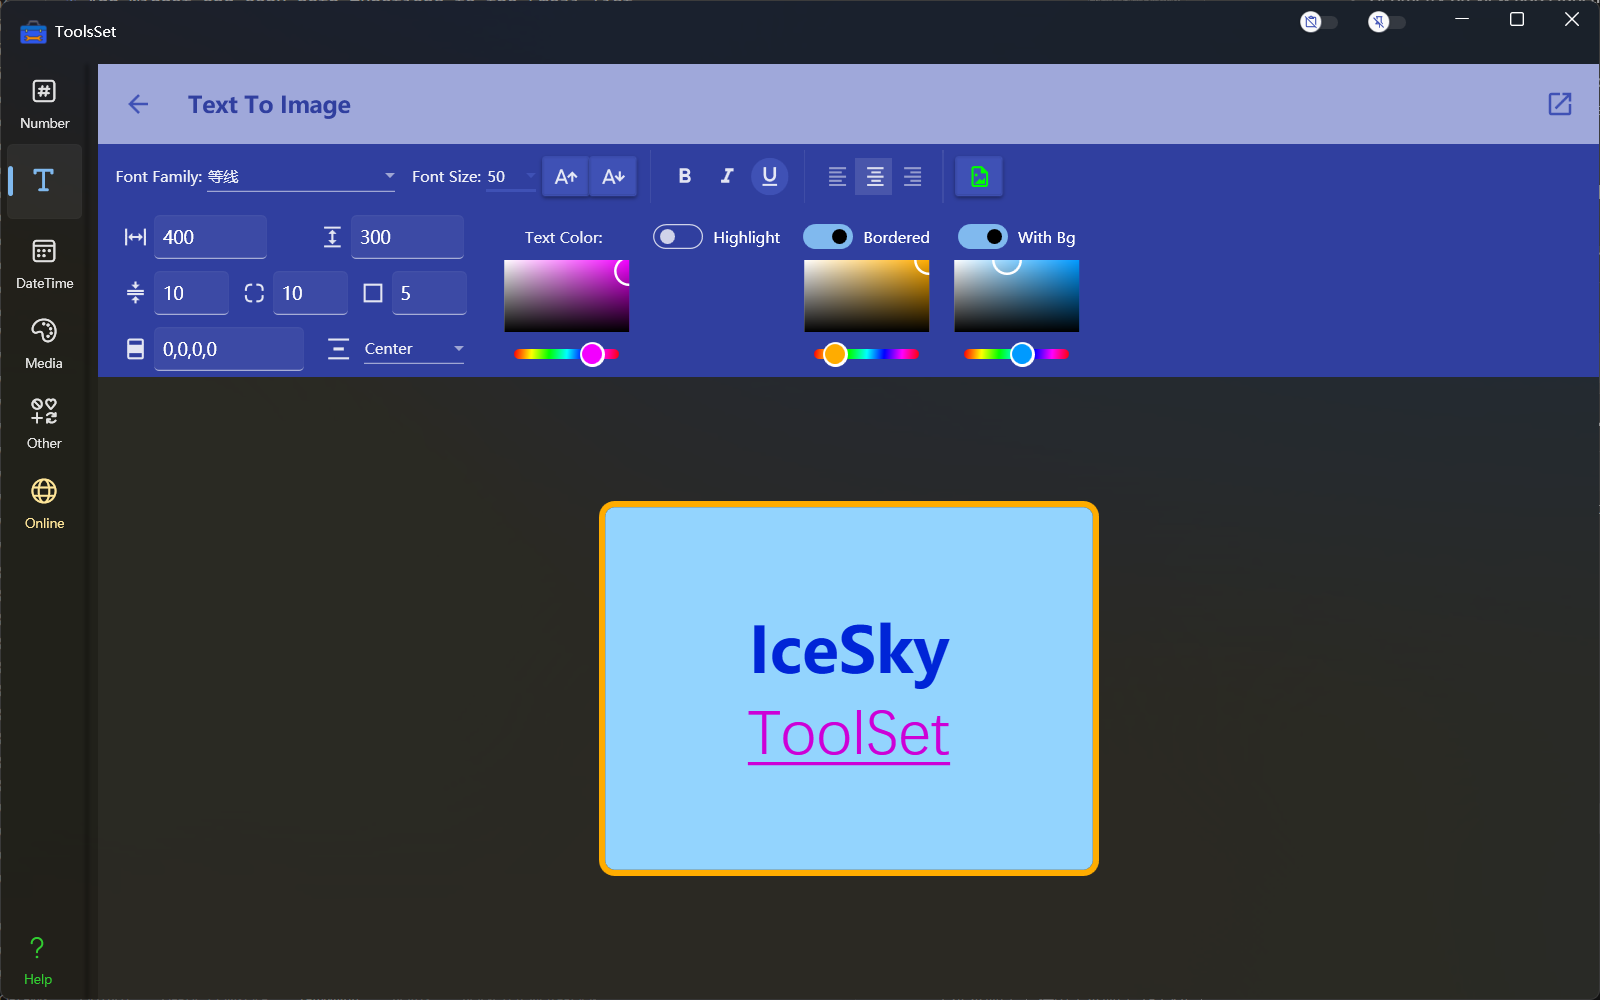
A text-to-image tool that can convert formatted rich text content into an image file
How to use
- The top of the interface is the parameter setting area, where you can configure the following parameters:
- Font family: Select a system-installed font from the dropdown menu
- Font size: Choose font size from the dropdown menu, or directly enter a size in the input box, with a maximum size of 500; click the two buttons to the right of the font size to increase or decrease the size
- Font style: Click to switch bold, italic, and underline
- Horizontal alignment: You can choose the paragraph's horizontal alignment, including left, center, and right alignment
- Output image width and height: Minimum width is 20; if the height is set to 0, it will automatically adjust based on the content
- Line spacing: You can set the distance between two lines of text, with a minimum value of 1
- Corner radius: Set the background's corner radius
- Border thickness: Set the border thickness of the image, effective only when the border is enabled
- Padding: Set the distance between text and border, with four values representing the left, top, right, and bottom distances respectively
- Vertical alignment: Set the alignment of selected text; if no text is selected, it sets the vertical alignment of the entire text, including top, middle, and bottom alignment.
- Text color: Set the color of the text by selection.
- Highlight color: Set the background color of the text by selection; when not enabled, there is no highlight.
- Border color: Set the color of the border by selection; visible when border width is greater than 0, no border when not enabled.
- Background color: Set the background color of the output image; transparent when not enabled.
- Background Image: Set the background image for the text area. When the switch above is turned on, you can add a background image. Below is the background image operation area, where operations include:
- Open the image file
- Set the image to be centered at its original size
- Set the image to stretch and fill
- Set the text area size to the image size
- Set the image to stretch uniform
- The preview area below allows you to drag the image with the mouse to adjust its position and use the scroll wheel to adjust the image size
- You can edit text at the bottom of the interface
- Click the save button on the toolbar above to save the edited text as an image file